


In this article, I will take you through setting up self hosted runners for GitHub Actions. It is similar to Azure Devops Pipelines Build Agents and this is the space which is evolving after Microsoft acquired GitHub; and so many improvements and developments are going under the hood. Runners are build agents which helps to run your CI/CD pipelines with ease.
There are multiple architecture type available for GitHub runners in their repository;I will be installing the pre-release ARM architecture version in my Raspberry Pi device. First step is to download and extract the install binaries on to the device. The easiest way to get it running is by choosing the wizard way associated with the repository; where you wanted the runner to be associated with. Please note that example shown here is for associating a runner with a single GitHub Repository. Below are the steps.

- Click on the settings tabs on your GitHub repository


2. Click on the Actions section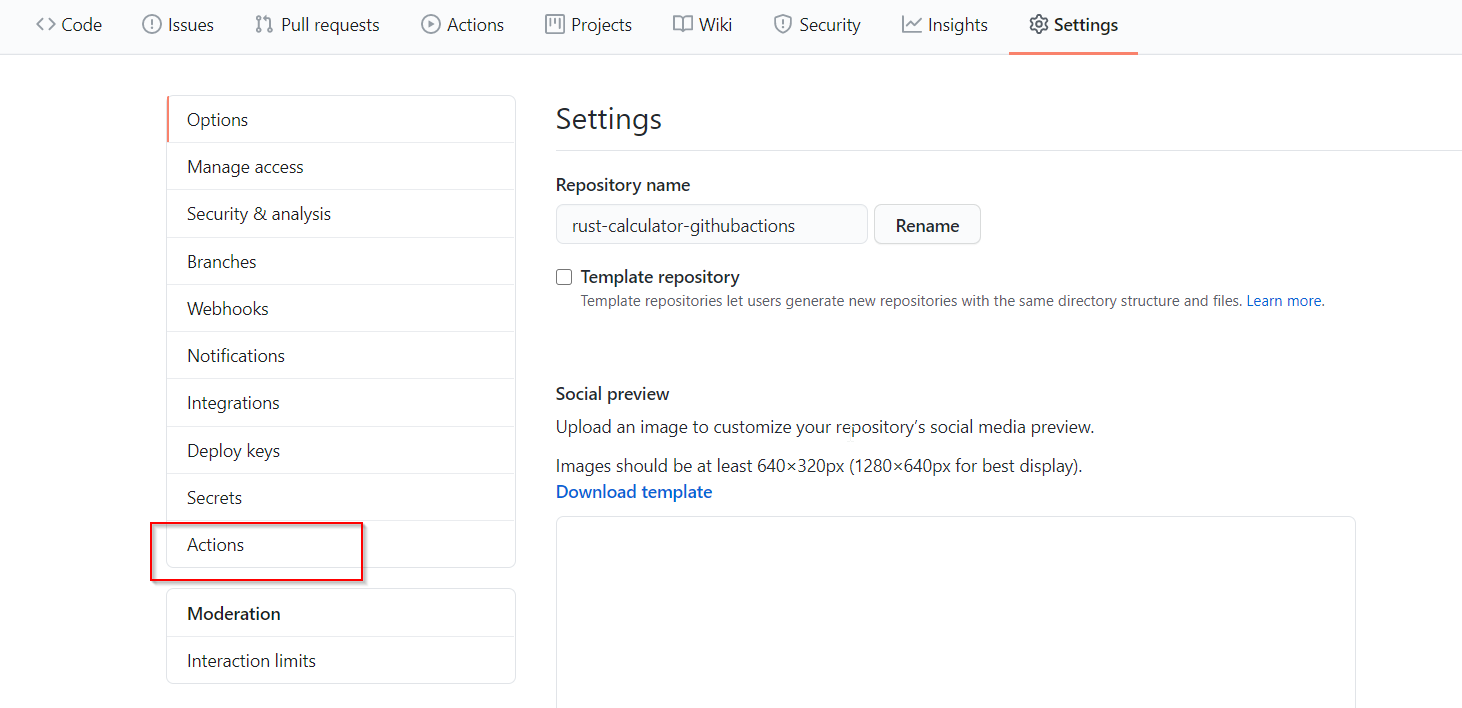

3. Click on Add runner button

4. Select the platform and architecture of your choice , and follow the scripts to download and register the runners.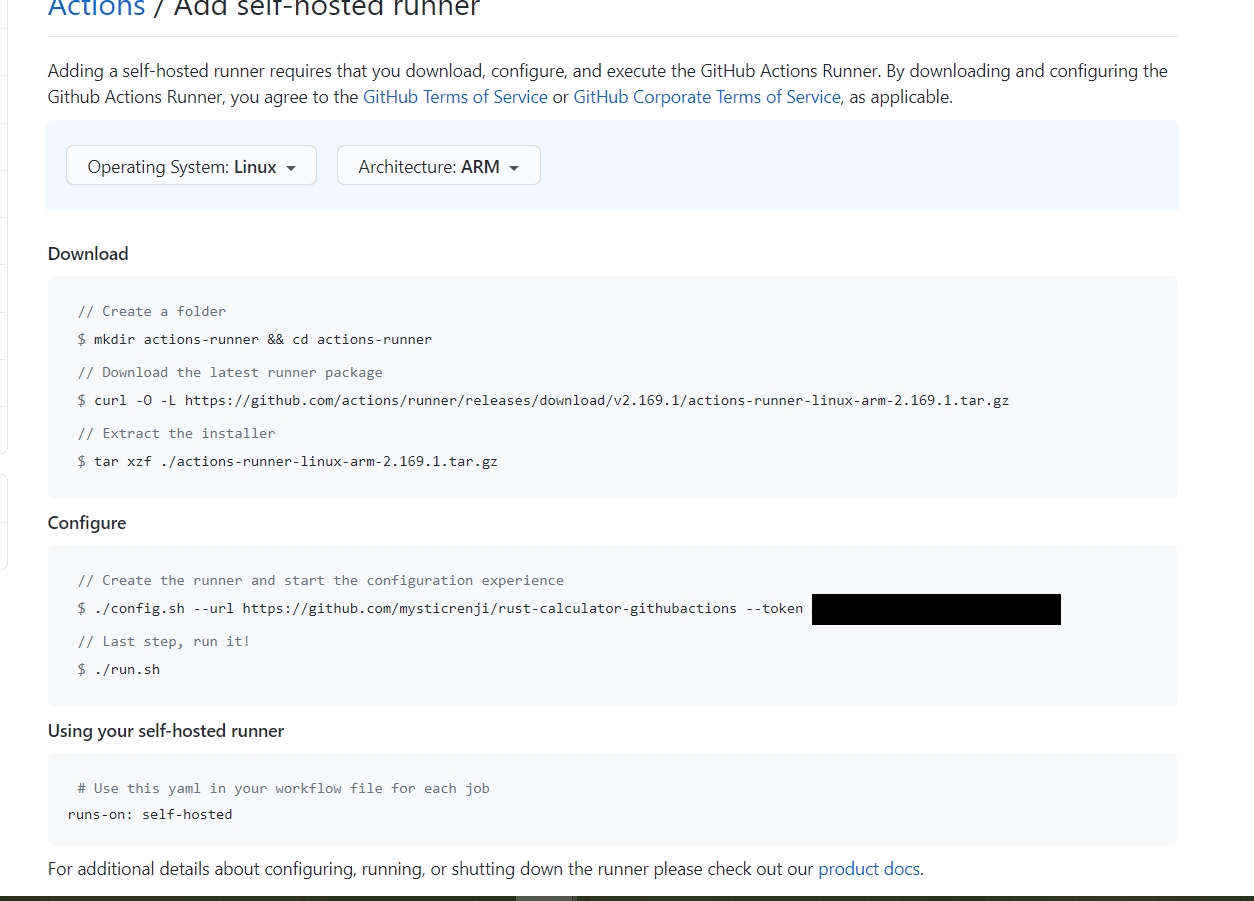

5. While running “config.sh”, please mention your agent name and also a label for the runner. Label is like alias which helps to map from workflow to a particular runner having different capabilities/features.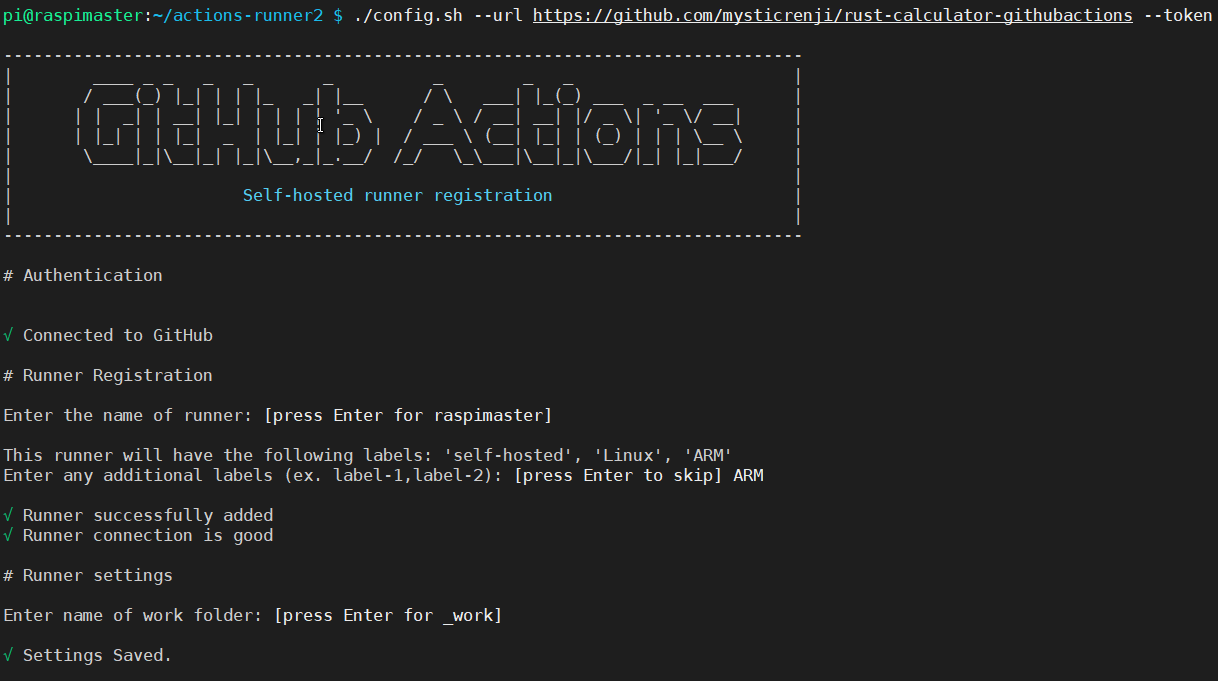

6. Above displayed script- “run.sh” will execute the runner in interactive mode. This will be helpful when we are setting up for the first time. If you wish to execute it in non interactive mode or like as service, run the “./svc.sh” in your download directory.
| 123 | sudo ./svc.sh install // For installing the runner as a servicesudo ./svc.sh start // Starting the servicesudo ./svc.sh status // To show the status |
Making the runner to work
Once the runner has been configured, we will just try to run a sample project. For illustrating the execution, i have used a tiny calculator app developed in Rust language. CI/CD pipelines in Github are defined in Actions tab by means of Workflows.
1. Go to Actions Tab in the repository and Click the New Workflow button

2. Automatically GitHub would scan your repository and recommend the best workflow template for your project depending up on the language that you used to develop. As you can see the Rust template is automatically selected. I chose the default template.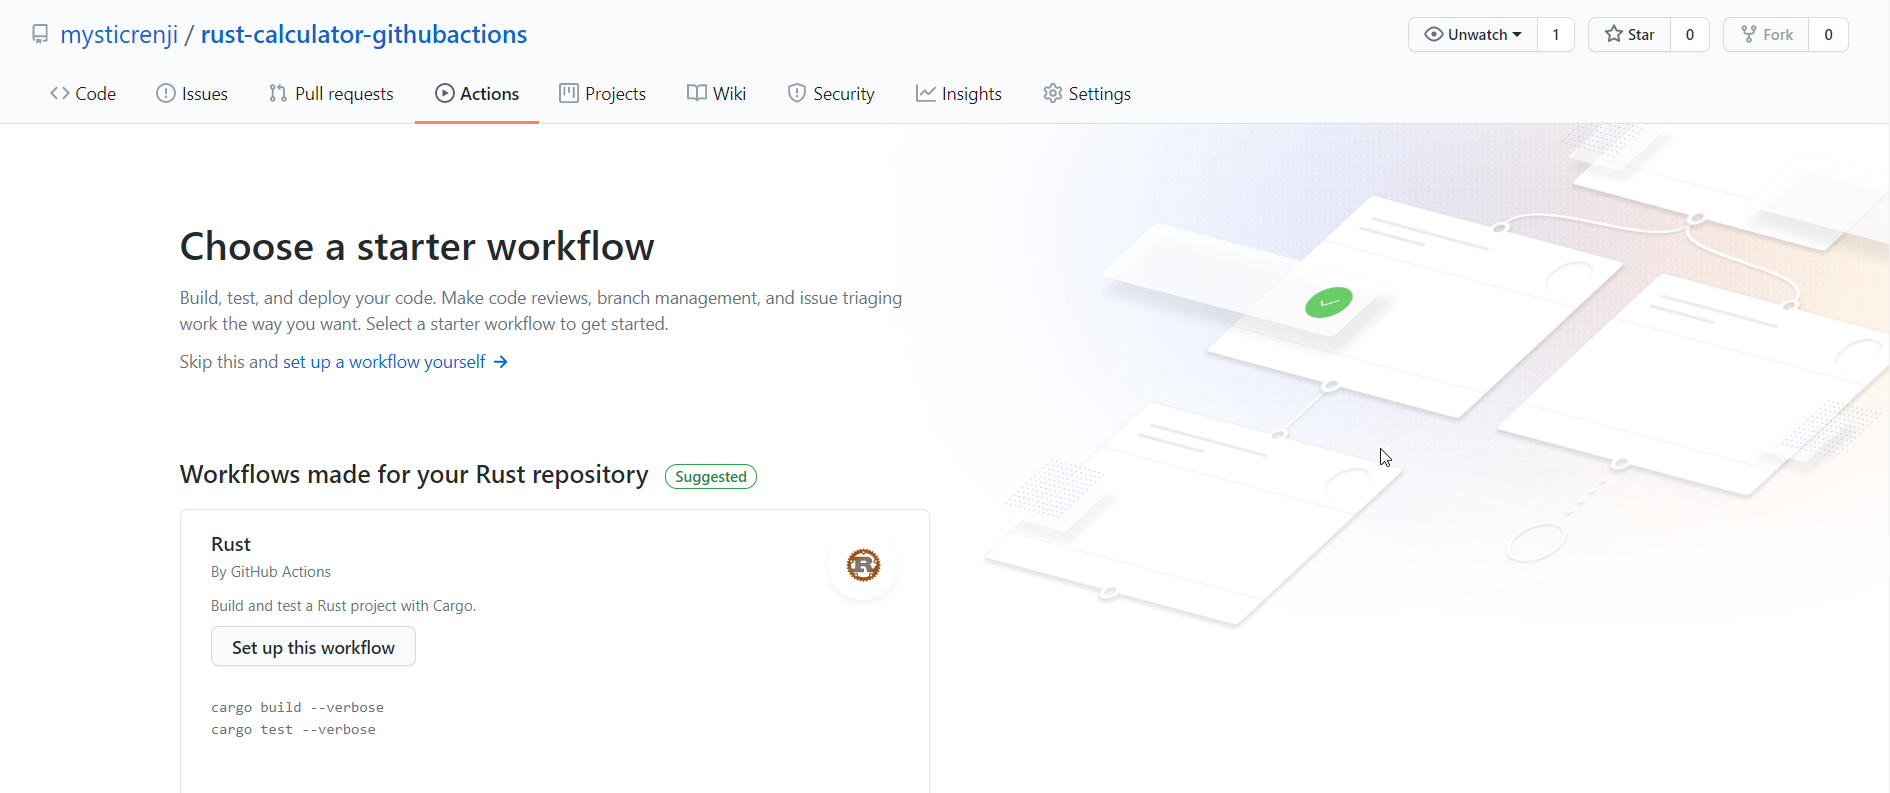

3. In the Next screen, you can see the yml file displayed for you. You can customize the template according to your needs like modifying the triggers, adding the code coverage steps , pushing the artifacts etc. Do note that you need to change the agent name as marked (runs-on)to your self hosted agent name otherwise it takes the default one.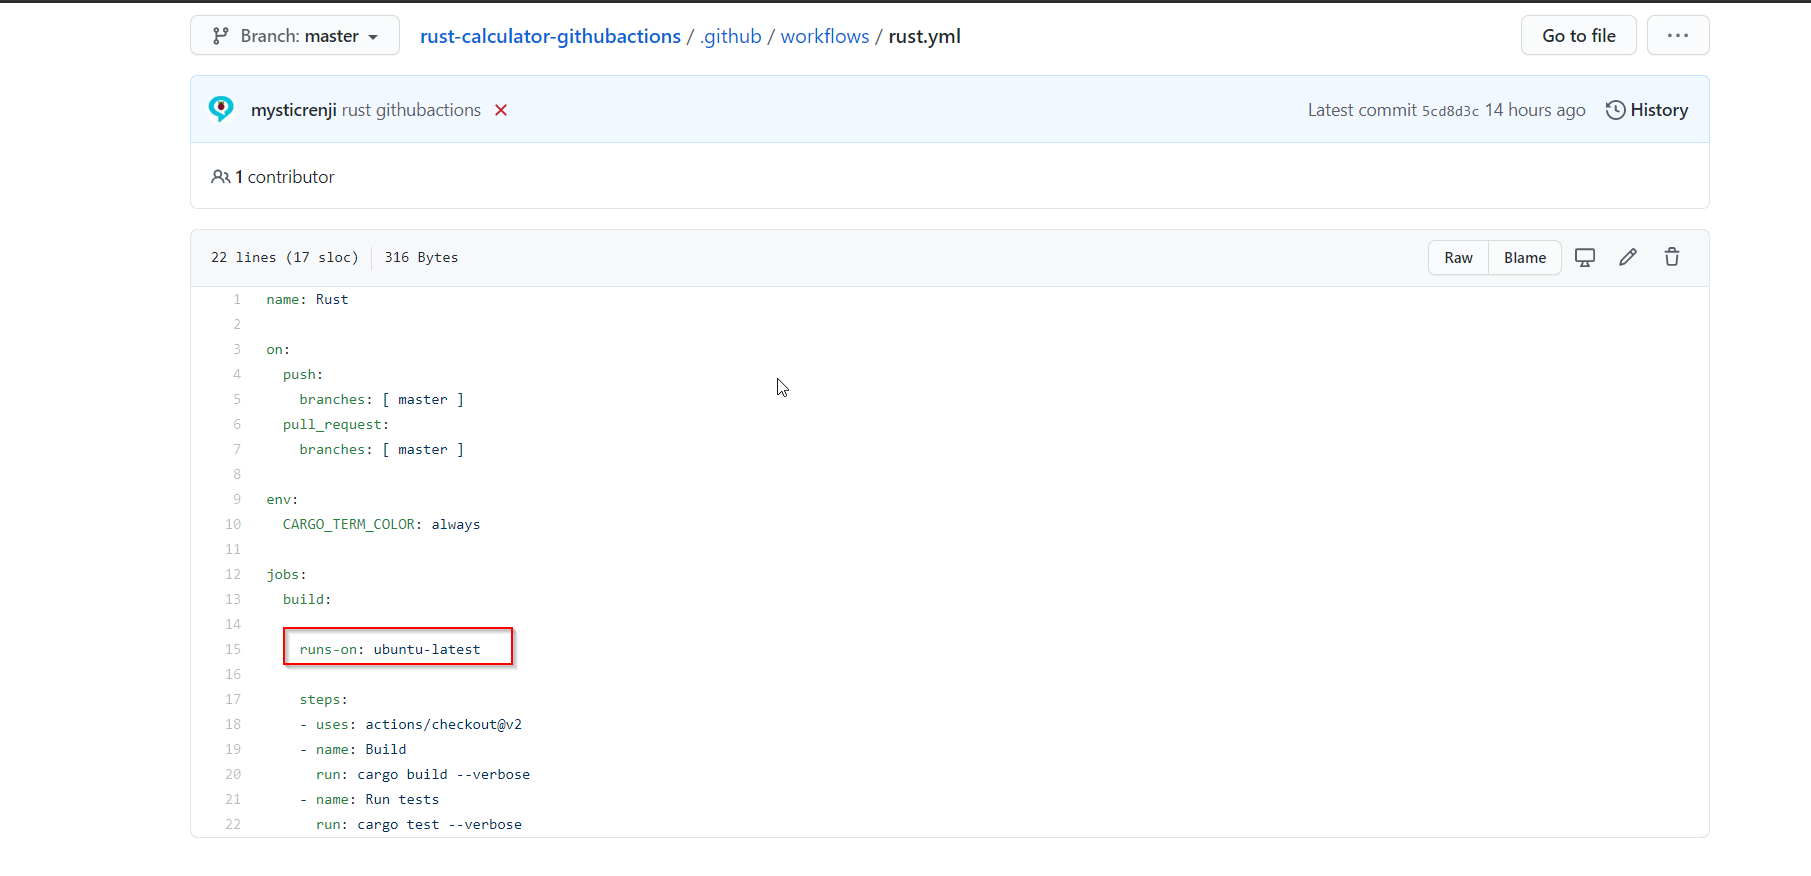

4. Just check in some file changes, to see the “GitHub Actions” in Action 🙂

That’s all it takes to setup a Self-Hosted GitHub Runner on your machine and build a project tapping the Runner.
Github Repo – https://github.com/mysticrenji/rust-calculator-githubactions