Red Hat Satellite Server – Connected Installation Method – Part 2 – Configure Satellite
-
 Karthik Prabhu
- How to, Infrastructre & hardware, Satellite
- May 5, 2021

Introduction
Red Hat Satellite is one of the best system management solutions by which you can deploy, configure, and maintain your systems; it can be physical, virtual, or cloud environments. Satellite is single pane tool for provisioning, remote management and monitoring of multiple Red Hat Enterprise Linux deployments.
Red Hat Satellite Server – Installation Guides
- Red Hat Satellite Server – Connected Installation Method – Part 1 – Prepare Server
- Red Hat Satellite Server – Connected Installation Method – Part 2 – Configure Satellite
- Red Hat Satellite Server – Disconnected Installation Method – Part 1 – Prepare Server
- Red Hat Satellite Server – Disconnected Installation Method – Part 2 – Configure Satellite
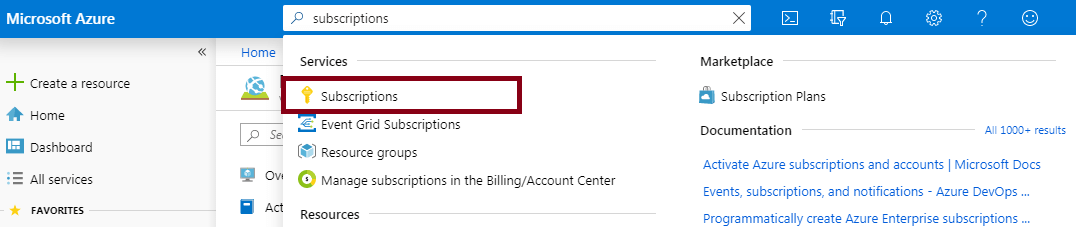
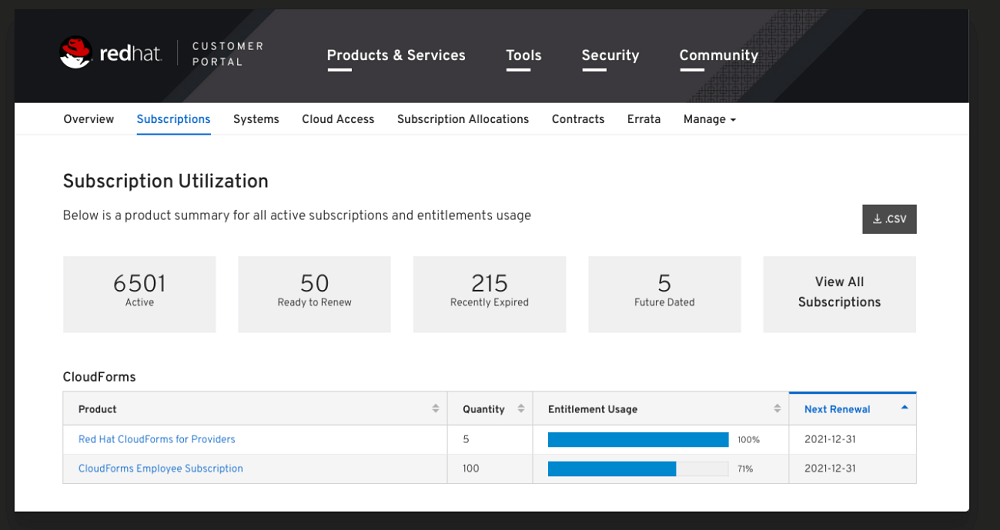
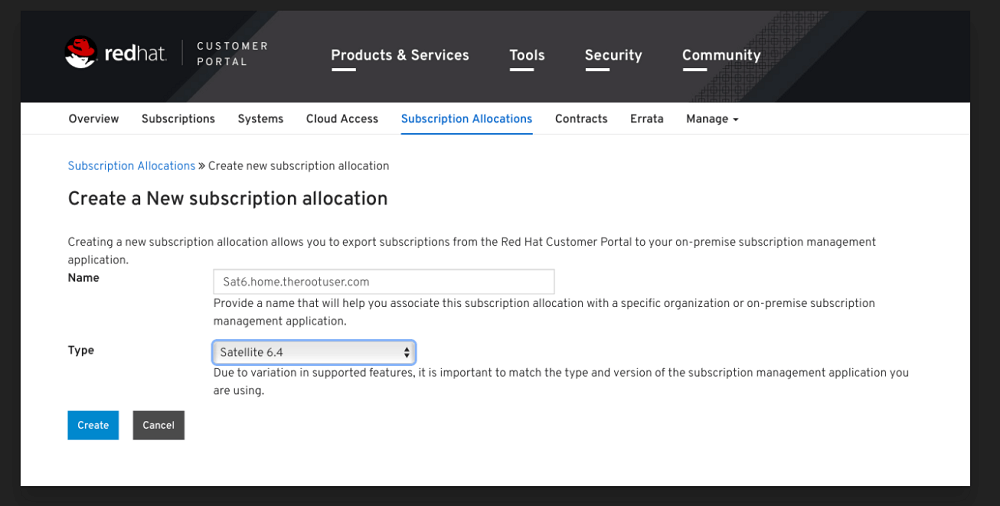
Download the subscriptions from the Red Hat portal.
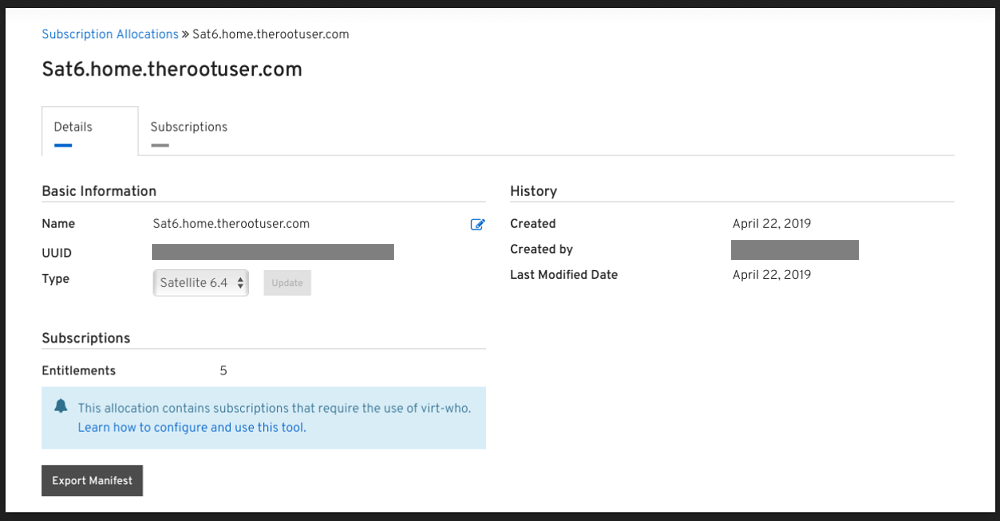
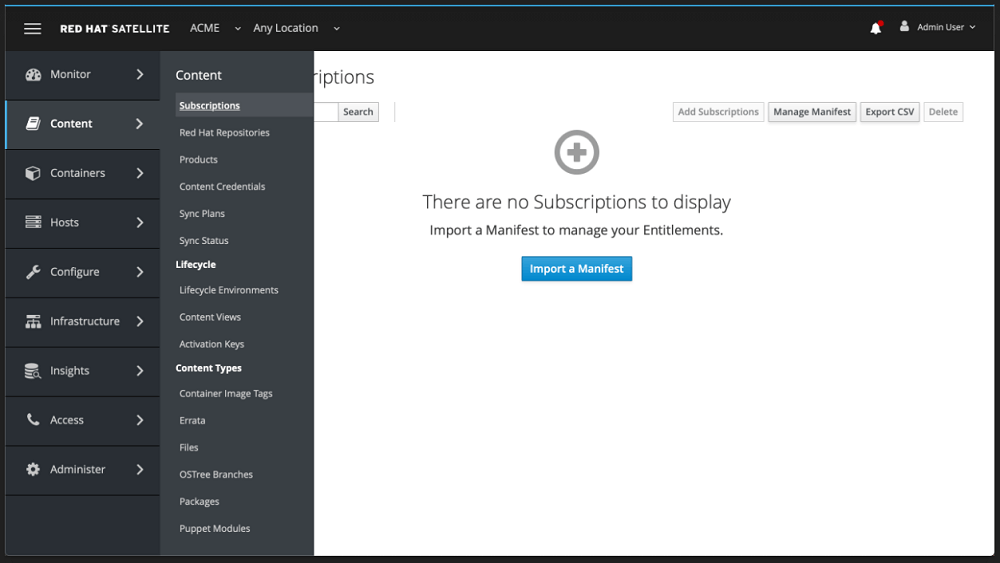
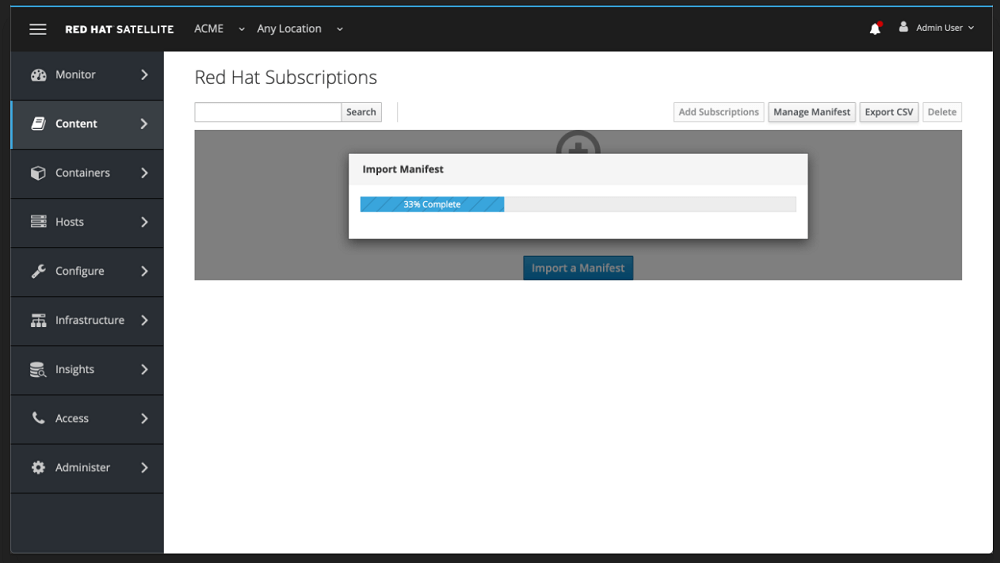
Import the Manifest into Satellite
Open Satellite Server Web Console, Content -> Subscriptions -> Manage Manifest
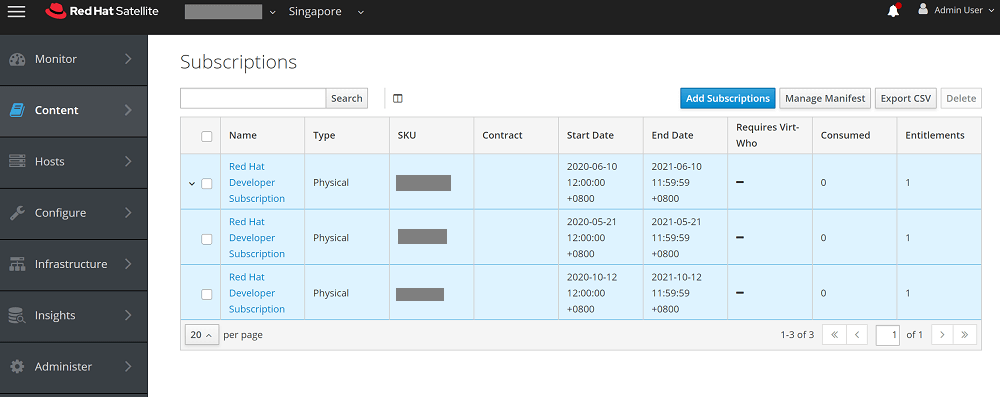
Check List of consumed manifests
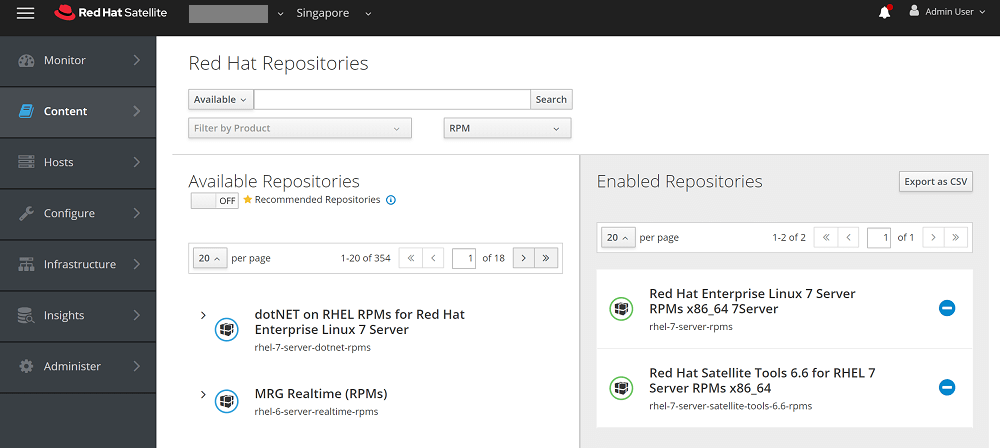
Enable the required repos
Content -> RedHat Repositories
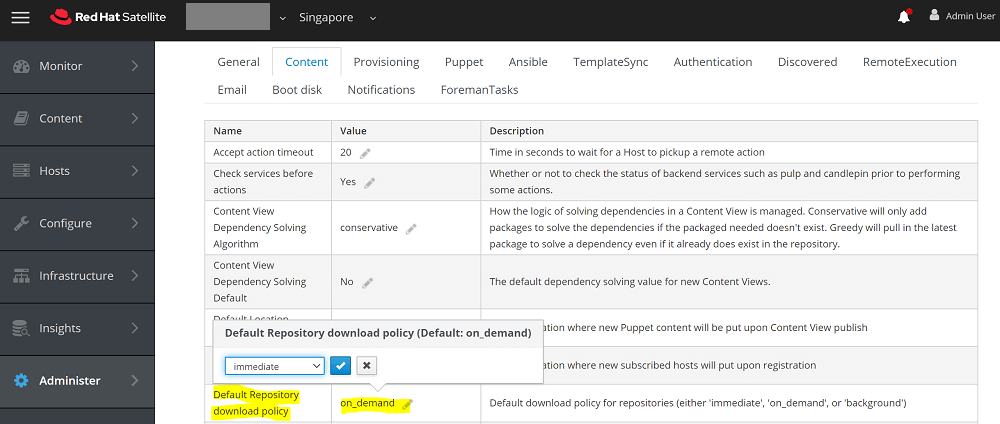
Change the default download policy settings
To change default download policy, follow below steps on Red Hat Satellite WebUI.
Administer > Settings > Content > Select "Default Repository download policy" > set "immediate"
To change download policy of already enabled repository through WebUI.
Content > products > select "Product" > select "repository" > select "Download Policy" > choose the policy
To set download policies for all enabled repositories in Red Hat Satellite 6.
- Changing download policy to 'immediate'.
# foreman-rake katello:change_download_policy DOWNLOAD_POLICY=immediate

- Changing download policy to 'on-demand'.
# foreman-rake katello:change_download_policy DOWNLOAD_POLICY=on_demand
Refer How to change download policy of repositories in Red Hat Satellite 6 ? for more details.
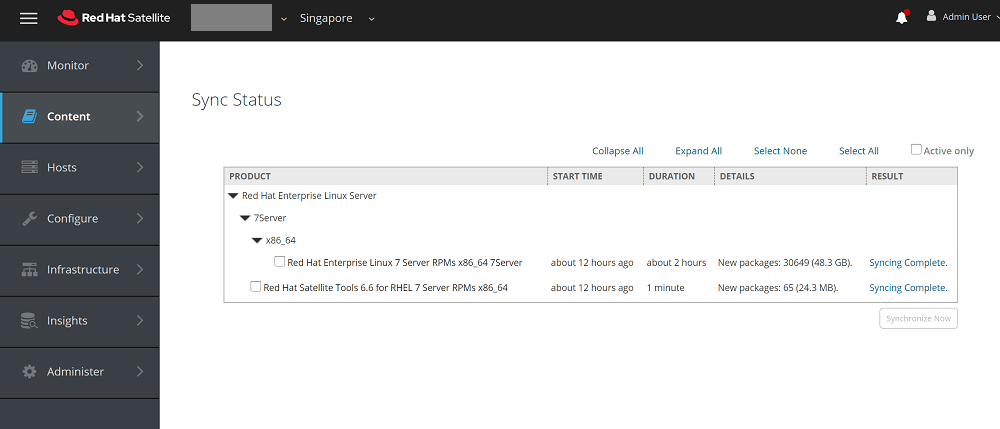
Synchronize the Repo
Make sure all the repos enabled are synced without any errors. Content -> Sync Status
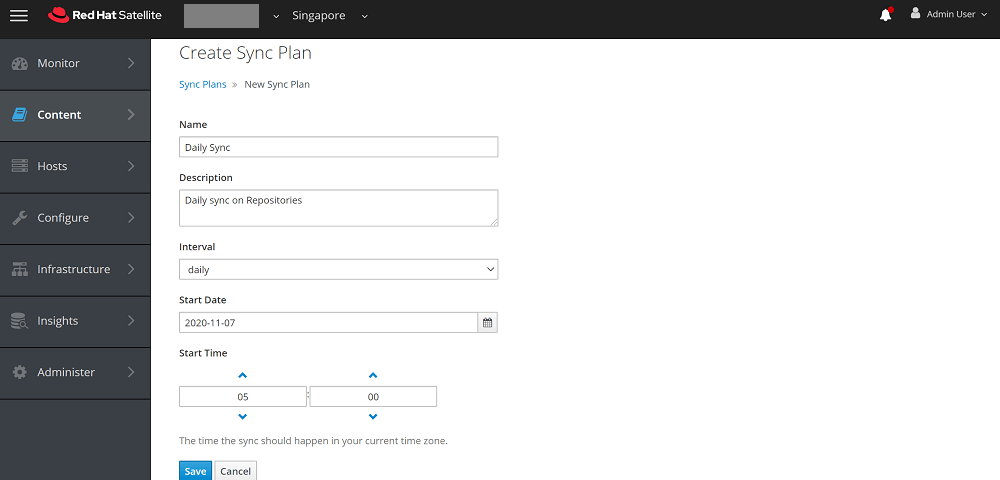
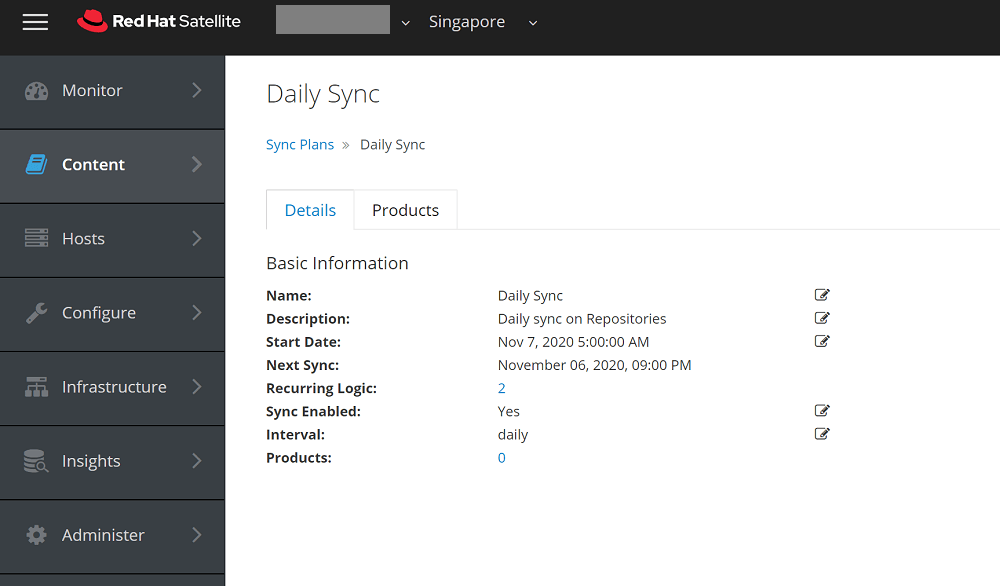
Setting up a daily sync plan if applicable
Content -> Sync Plans > Create Sync Plan
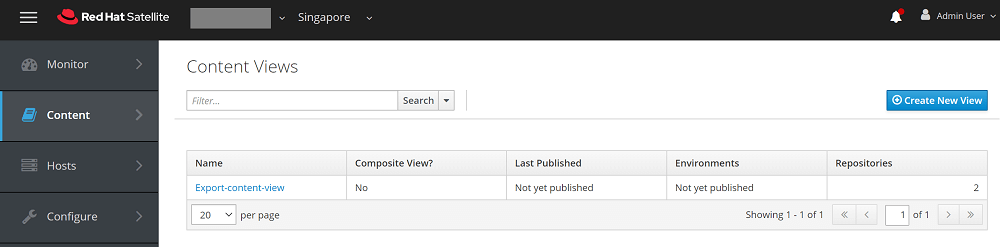
Create Content View
Create a content view and enable the repositories inside content view. Content -> Content Views
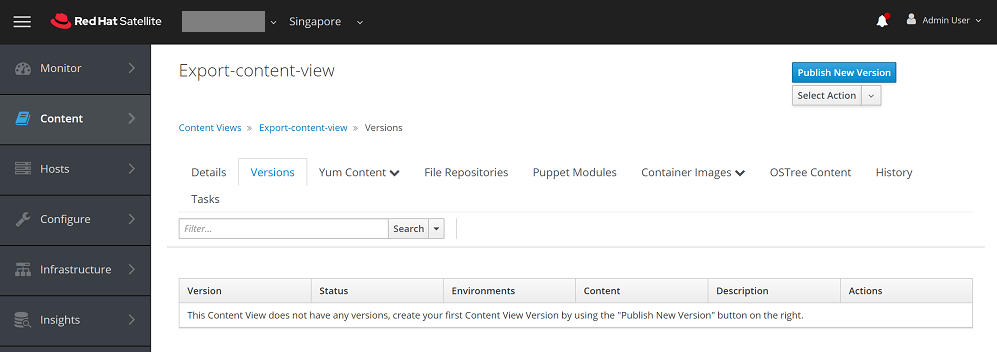
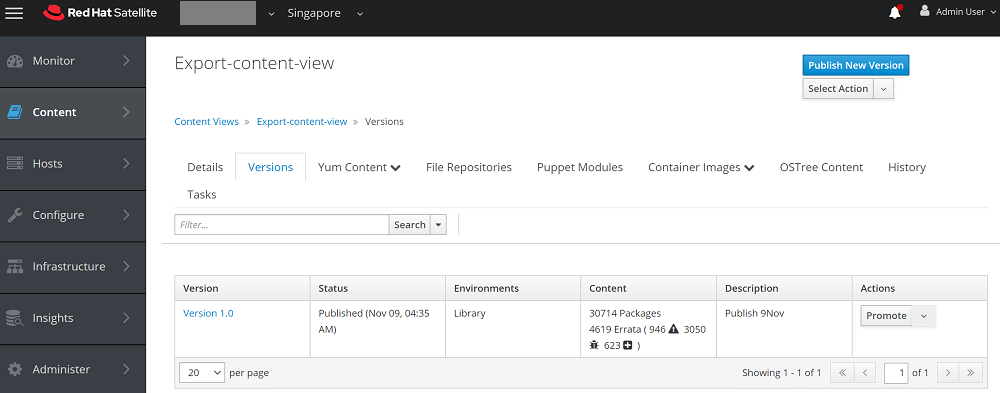
Publish Content View
Export the content version from Command Line
-- List the Organization
# hammer organization list

-- List the content and Export the content published version
# hammer content-view version list
# date && hammer content-view version export-legacy --id 3 && date
Once export completed 100% foreman will automatically generate the folder and place the exported contents.
# ls -ld /var/www/html/pub/export/MYORG-Rhel7-8-v1.0/MYORG/content_views/Rhel7-8/1.0/
Karthik Prabhu
Karthik has worked as Systems Engineer and Specialist in Red Hat technologies (Ansible, Red Hat Satellite, OpenShift), SIEM, Middleware, IAM, Virtualization and Cloud.
Note
Disclaimer: The views expressed and the content shared in all published articles on this website are solely those of the respective authors, and they do not necessarily reflect the views of the author’s employer or the platform. We strive to ensure the accuracy and validity of the content published on our website. However, we cannot guarantee the absolute correctness or completeness of the information provided. It is the responsibility of the readers and users of this website to verify the accuracy and appropriateness of any information or opinions expressed within the articles. If you come across any content that you believe to be incorrect or invalid, please contact us immediately so that we can address the issue promptly.