Just recently, I was setting up Self-Managed K3s Kubernetes cluster on Azure VM, I had an requirement to include worker nodes from my home network as well as the from AWS. Coming from non n/w background , I had to do a bit of searching on the google and gets hands dirty to setup the connectivity :). So in this article I will take you through the steps I followed for the setup.
I am using K3s Kubernetes distribution for this case. Set up the k3s cluster on the Azure VM . Use the below code snippet to install K3s master on the VM. Fill in the VM IP address and a secret pass of your choice.
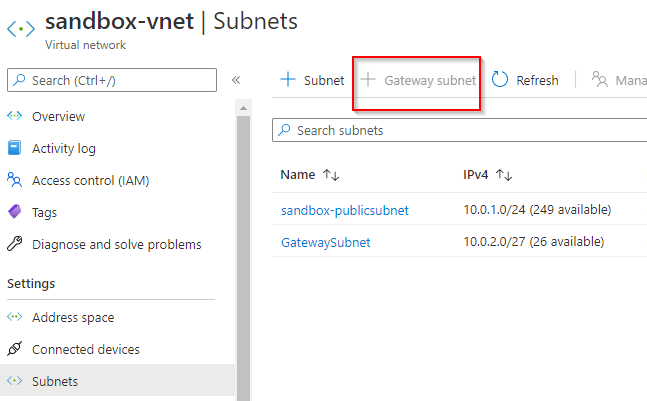
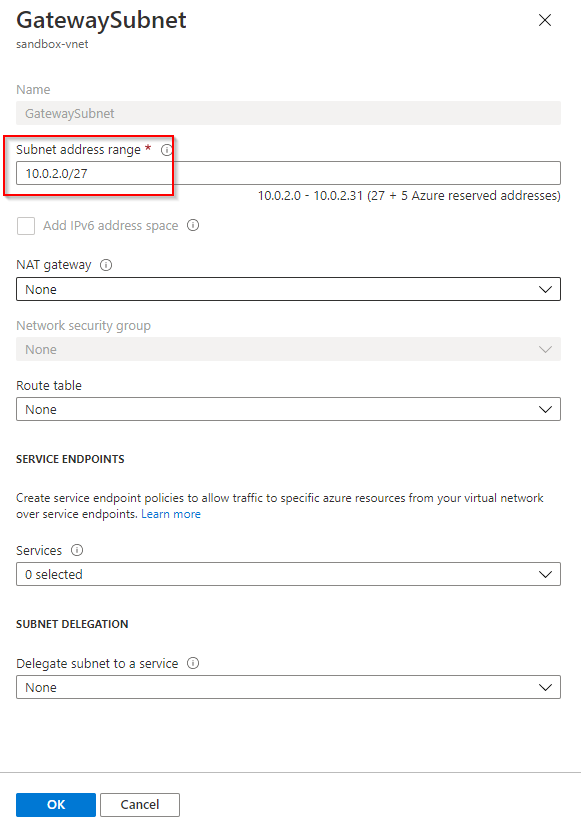
curl -sfL https://get.k3s.io | INSTALL_K3S_EXEC="\--cluster-init \--write-kubeconfig ~/.kube/config \--write-kubeconfig-mode 644 \--tls-san <VMPublicIP> \--node-taint CriticalAddonsOnly=true:NoExecute \--token <SECRET>" \INSTALL_K3S_VERSION="v1.19.2+k3s1" sh - Copy the token from server, to setup the worker node at later stage( Ref1 ) sudo cat /var/lib/rancher/k3s/server/token 2. Go to Azure Portal, under your VNET create a Gateway subnet. Please be mindful of having ample of IPs for the subnet range. The gateway subnet contains the IP addresses that the virtual network gateway services use. Also open the port 6443 in the inbound rules of the VNET. This is required for worker nodes to communicate with the k3s cluster inside Azure VM.
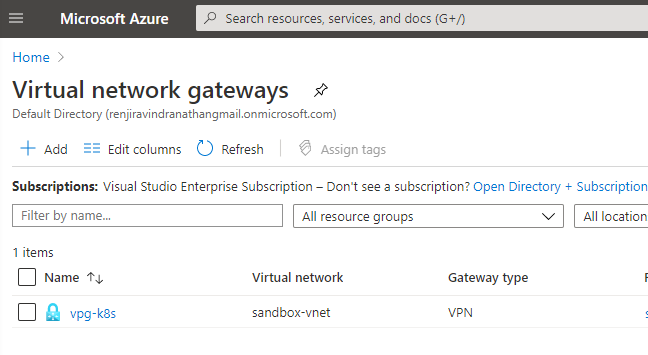
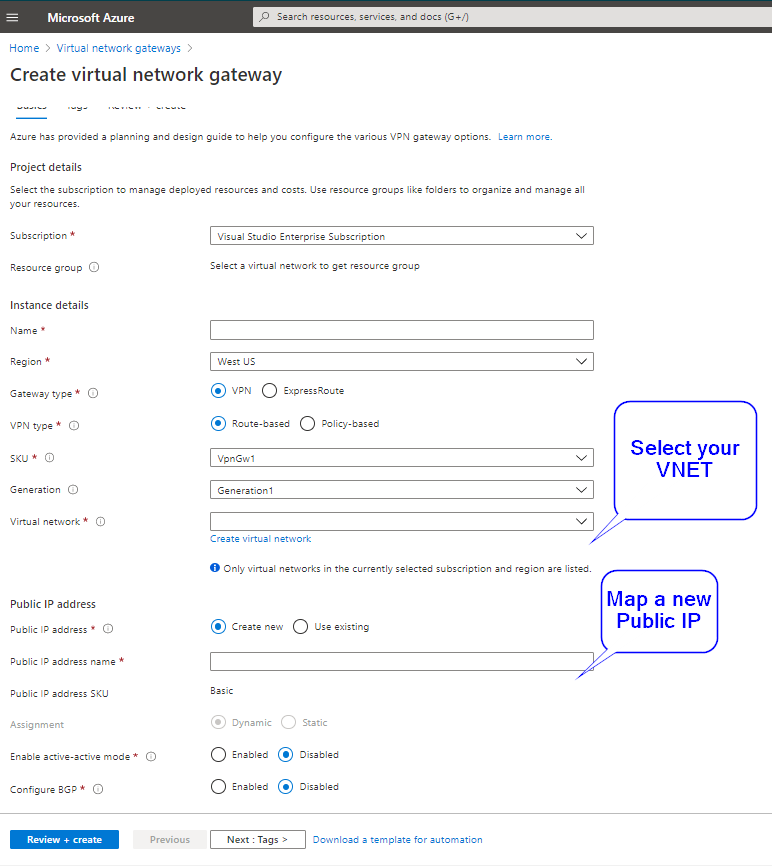
3. Create the Virtual Network Gateway and fill up the the details. Map the gateway subnet created in the previous step when you select the VNET. A new Public IP resource is required for the virtual network gateway. Put the default SKU.
On the worker node, which you wish to add execute below code snippets. This will install the tools for creating self signed Root certificates and derived private key and client certificates. Please add a USERNAME and PASSWORD. sudo apt install strongswansudo apt install strongswan-pkisudo apt install libstrongswan-extra-pluginsipsec pki --gen --outform pem > caKey.pemipsec pki --self --in caKey.pem --dn "CN=VPN CA" --ca --outform pem > caCert.pem Copy the output of the below script, which will be used in configuring Virtual network gateway ( Ref2 ) openssl x509 -in caCert.pem -outform der | base64 -w0 ; echo Generate private key and client certificate
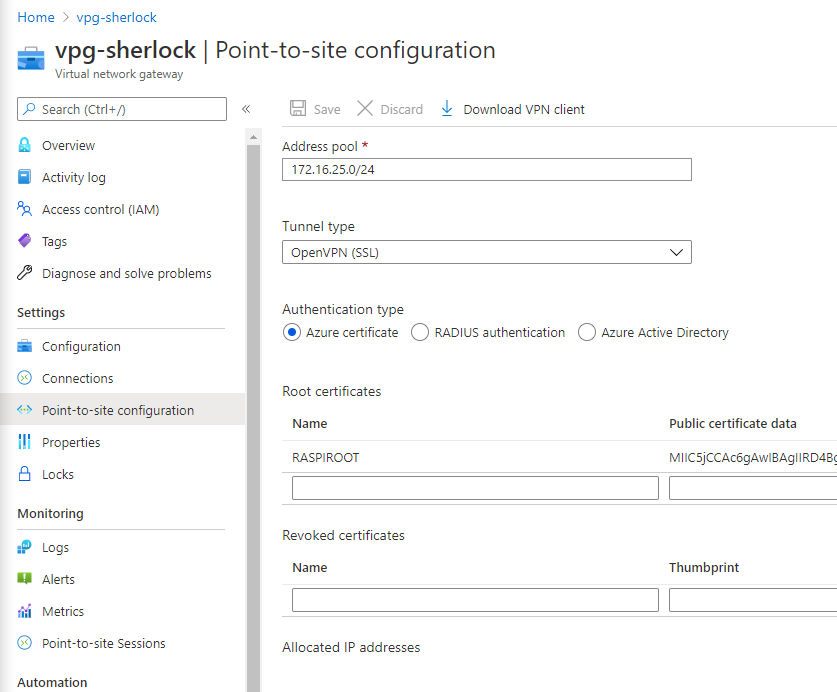
`` 5. Copy the output of the command – Ref2 and then go to Azure network gateway -> Point to Site Configuration. Add the address pool you wanted to assign. I used IP range – 172.16.25.0/24 . Select the tunnel type as OpenVPN . And finally enter the Root certificate details which you copied earlier. Give me a meaning name as well.
Download the VPN client from the Azure Portal
7. Extract the zip on the worker node and traverse to Open VPN folder. Open the .ovpn and paste the contents of private key and client certificate (not the files starting with ca) and then save it.
8. Run the OpenVPN Client with referring the ovpn config file sudo openvpn --config <name and path of your VPN profile file> &
Setup the K3s on the worker node with the below command. Please note on the token that we copied from Azure VM. curl -sfL https://get.k3s.io | K3S_URL=https://<VMPublicIP>:6443 \K3S_NODE_NAME=rpi-workernode \INSTALL_K3S_VERSION="v1.19.2+k3s1" \K3S_TOKEN=<Ref1> \sh -
Finally you have a running Kubernetes cluster with remote worker nodes.
On enterprise level, we would normally purchase the certificate from Certificate Authority like GlobalSign, DigiCert etc and use it. The certificate used in the article is self signed. Hope this article finds useful to anyone who having similar case.
A DevOps engineer by profession, dad, traveler and more interestingly to tweak around stuff inside memory constrained devices during spare time.
Note
Disclaimer: The views expressed and the content shared in all published articles on this website are solely those of the respective authors, and they do not necessarily reflect the views of the author’s employer or the platform. We strive to ensure the accuracy and validity of the content published on our website. However, we cannot guarantee the absolute correctness or completeness of the information provided. It is the responsibility of the readers and users of this website to verify the accuracy and appropriateness of any information or opinions expressed within the articles. If you come across any content that you believe to be incorrect or invalid, please contact us immediately so that we can address the issue promptly.
 Renjith Ravindranathan