How to configure CI/CD pipelines in less than 50 lines of code
-
 Agaile Victor
- Infrastructre & hardware, Aws, Aws lambda
- April 3, 2021
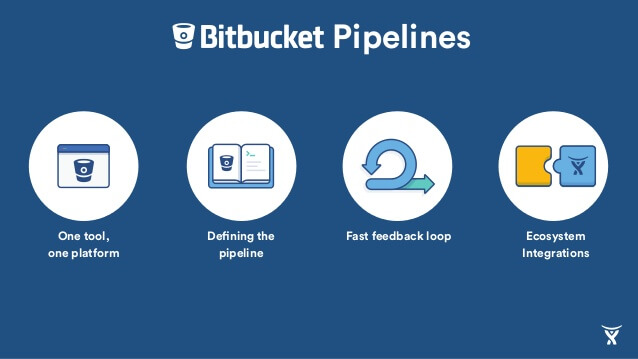
Recently I did a POC to replace AWS CodePipeline with BitBucket and their Pipelines in one of my projects. Bitbucket Pipelines is CI/CD for Bitbucket Cloud that’s integrated in the UI and sits alongside your repositories, making it easy for teams to running, building, testing, and deploying their code. Users can utilise 50 minutes of free Bitbucket build minutes (depends on the subscription, build minutes will vary) to use each month.
Pricing
| Plan type | Build minutes per month |
| Free | 50 minutes |
| Standard | 2500 minutes |
| Premium | 3500 minutes |
Prerequisites
- An AWS account
- A Bitbucket account
- Git installed on your machine
- NodeJS (version 12 and above)
- VS Code (or any other text editor)
Create an IAM user
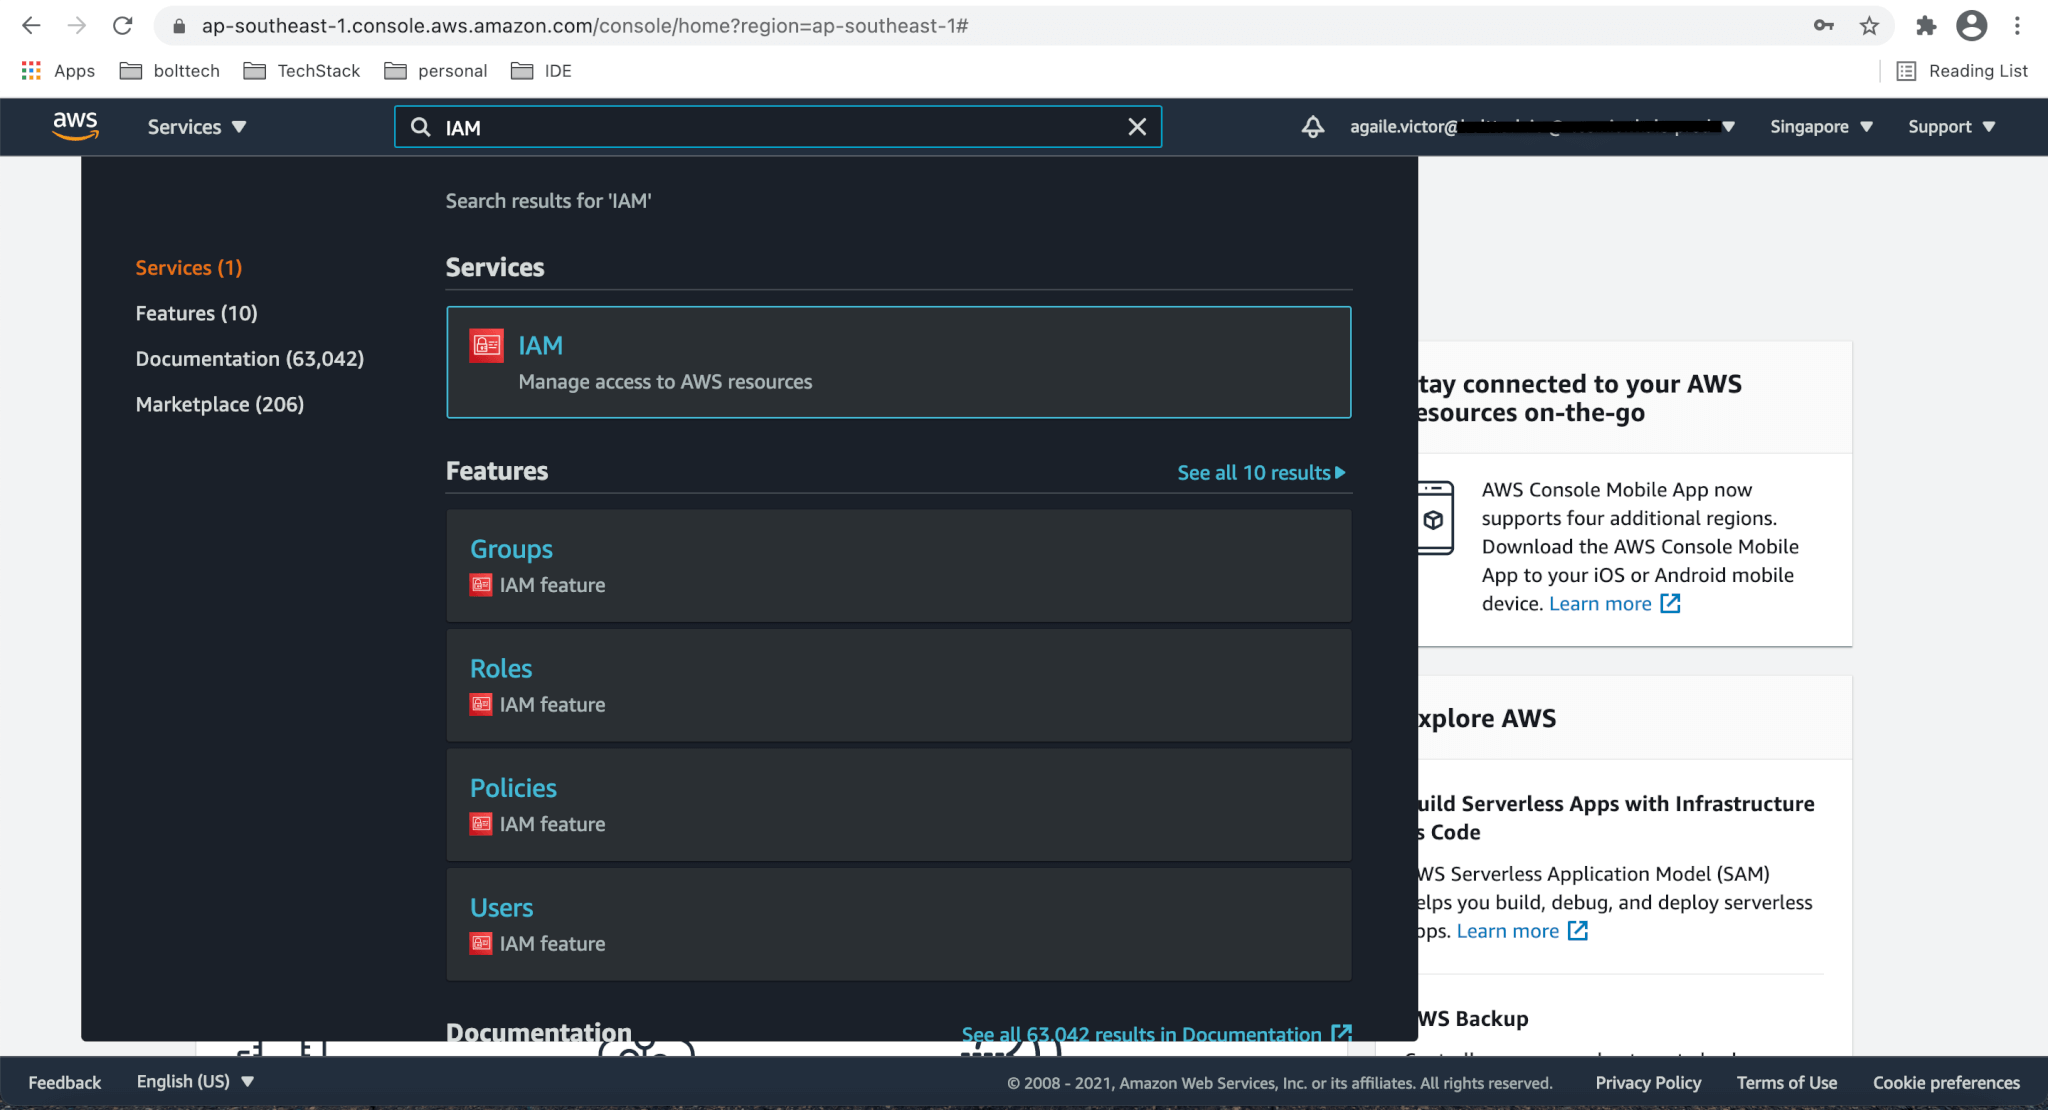
Go to your AWS console . Make sure you’re in the right geographical region as well. Search for “IAM”, under the Find Services heading. Follow the onscreen instructions to add a new user with the following permissions AmazonAPIGatewayAdministrator , AWSLambdaFullAccess , IAMFullAccess , AWSCloudFormationFullAccess , AmazonS3FullAccess
Make sure you download the csv file containing Access key ID and Secret access key and store it somewhere safe.


Configure a S3 bucket for deployment
We need one S3 bucket to store the zip file of our latest code (and any other artifacts) and from there the code will be deployed.
Go back to your AWS console and this time search for s3: Follow the onscreen instructions to create a S3 bucket. Note down the bucket name for future use.


Configure Bitbucket repository
Create a new Bitbucket account if you don’t have one. You can also use your Google, Apple, or Microsoft account to login directly. Now, create a repository to store your code. Click on the Create repository button and give it a name. I’ll name the project “Devops” and the repository name will be “bitbucket-pipeline-tutorial”. Follow the on screen instructions, it’s very simple.


Create Repository variables for the pipeline
Step 1 : Enable pipelines in the repository
Click Repository settings from the left-hand menu. Scroll down on the left menu to find Settings on the Pipelines section .

Step 2 : Configure repository variables
Type AWS_ACCESS_KEY_ID as the name and the value you copied for the AWS Access Key from the IAM user as the value. Similarly add AWS_SECRET_ACCESS_KEY and AWS_DEFAULT_REGION as well.

Clone Repository
Use the following command to clone the repository to your computer
Agaile@Agailes-MacBook-Pro Node % git clone https://[email protected]/AV1988/bitbucket-pipeline-tutorial.git
Cloning into 'bitbucket-pipeline-tutorial'...
remote: Counting objects: 4, done.
remote: Compressing objects: 100% (4/4), done.
remote: Total 4 (delta 0), reused 0 (delta 0)
Unpacking objects: 100% (4/4), done.
Agaile@Agailes-MacBook-Pro Node %
Create a Node.js API
For this tutorial, I’m going to use SAM CLI to create a node.js API. Believe me, it’s simple and straightforward. After initialising the code lets cleanup the repository a bit.
Agaile@Agailes-MacBook-Pro Node % cd bitbucket-pipeline-tutorial
Agaile@Agailes-MacBook-Pro Node % sam init
Which template source would you like to use?
	1 - AWS Quick Start Templates
	2 - Custom Template Location
Choice: 1
What package type would you like to use?
	1 - Zip (artifact is a zip uploaded to S3)
	2 - Image (artifact is an image uploaded to an ECR image repository)
Package type: 1

Which runtime would you like to use?
	1 - nodejs14.x
	2 - python3.8
	3 - ruby2.7
	4 - go1.x
	5 - java11
	6 - dotnetcore3.1
	7 - nodejs12.x
	8 - nodejs10.x
	9 - python3.7
	10 - python3.6
	11 - python2.7
	12 - ruby2.5
	13 - java8.al2
	14 - java8
	15 - dotnetcore2.1
Runtime: 1

Project name [sam-app]: src

Cloning app templates from https://github.com/aws/aws-sam-cli-app-templates

AWS quick start application templates:
	1 - Hello World Example
	2 - Step Functions Sample App (Stock Trader)
	3 - Quick Start: From Scratch
	4 - Quick Start: Scheduled Events
	5 - Quick Start: S3
	6 - Quick Start: SNS
	7 - Quick Start: SQS
	8 - Quick Start: Web Backend
Template selection: 1

    -----------------------
    Generating application:
    -----------------------
    Name: src
    Runtime: nodejs14.x
    Dependency Manager: npm
    Application Template: hello-world
    Output Directory: .

    Next steps can be found in the README file at ./src/README.md

Agaile@Agailes-MacBook-Pro bitbucket-pipeline-tutorial % cd src
Agaile@Agailes-MacBook-Pro src % ls -lart
total 32
-rw-r--r--  1 Agaile  staff  1617 Apr  3 12:41 template.yaml
-rw-r--r--  1 Agaile  staff  8111 Apr  3 12:41 README.md
drwxr-xr-x  7 Agaile  staff   224 Apr  3 12:41 .
-rw-r--r--  1 Agaile  staff  2011 Apr  3 12:41 .gitignore
drwxr-xr-x  6 Agaile  staff   192 Apr  3 12:41 hello-world
drwxr-xr-x  3 Agaile  staff    96 Apr  3 12:41 events
drwxr-xr-x  6 Agaile  staff   192 Apr  3 12:49 ..
Agaile@Agailes-MacBook-Pro src % rm -rf README.md .gitignore
Agaile@Agailes-MacBook-Pro src % mv template.yaml ~/Desktop/Punkz/Workspace/Node/bitbucket-pipeline-tutorial
Agaile@Agailes-MacBook-Pro src %
Now the folder structure will look like this
Agaile@Agailes-MacBook-Pro bitbucket-pipeline-tutorial % ls -lart
total 24
-rw-r--r--   1 Agaile  staff  1617 Apr  3 12:41 template.yaml
-rw-r--r--   1 Agaile  staff   624 Apr  3 12:46 .gitignore
-rw-r--r--   1 Agaile  staff  2622 Apr  3 12:46 README.md
drwxr-xr-x  12 Agaile  staff   384 Apr  3 12:46 .git
drwxr-xr-x@  9 Agaile  staff   288 Apr  3 12:49 ..
drwxr-xr-x   7 Agaile  staff   224 Apr  3 12:52 .
drwxr-xr-x   4 Agaile  staff   128 Apr  3 12:52 src
Agaile@Agailes-MacBook-Pro bitbucket-pipeline-tutorial %
Let’s open the code in our code/text editor and make some changes to the template.yaml file. As you can see the value of CodeUri is ‘ hello-world /’. We have to change it to ‘src/hello-world/’ . Now we are good to deploy our code.
AWSTemplateFormatVersion: "2010-09-09"
Transform: AWS::Serverless-2016-10-31
Description: >
  src

  Sample SAM Template for src

# More info about Globals: https://github.com/awslabs/serverless-application-model/blob/master/docs/globals.rst
Globals:
  Function:
    Timeout: 3

Resources:
  HelloWorldFunction:
    Type: AWS::Serverless::Function # More info about Function Resource: https://github.com/awslabs/serverless-application-model/blob/master/versions/2016-10-31.md#awsserverlessfunction
    Properties:
      CodeUri: src/hello-world/
      Handler: app.lambdaHandler
      Runtime: nodejs14.x
      Events:
        HelloWorld:
          Type: Api # More info about API Event Source: https://github.com/awslabs/serverless-application-model/blob/master/versions/2016-10-31.md#api
          Properties:
            Path: /hello
            Method: get

Outputs:
  # ServerlessRestApi is an implicit API created out of Events key under Serverless::Function
  # Find out more about other implicit resources you can reference within SAM
  # https://github.com/awslabs/serverless-application-model/blob/master/docs/internals/generated_resources.rst#api
  HelloWorldApi:
    Description: "API Gateway endpoint URL for Prod stage for Hello World function"
    Value: !Sub "https://${ServerlessRestApi}.execute-api.${AWS::Region}.amazonaws.com/Prod/hello/"
  HelloWorldFunction:
    Description: "Hello World Lambda Function ARN"
    Value: !GetAtt HelloWorldFunction.Arn
  HelloWorldFunctionIamRole:
    Description: "Implicit IAM Role created for Hello World function"
    Value: !GetAtt HelloWorldFunctionRole.Arn
Now, we have the necessary configurations required for the pipeline to auto deploy our lambda function. Let’s write the pipeline configuration. Create a new file named bitbucket-pipelines.yml at the root of your project. Paste the following code into this file, taking care to replace the placeholder S3 bucket name with your own.
image: node:12

pipelines:
  branches: # Pipelines that will be triggered when a push is made in the below branch
    main:
      - step:
          name: Run test cases
          script:
            - cd src/hello-world
            - npm install
            - npm test
      - step:
          name: Deploy to Staging
          script:
            - pipe: atlassian/aws-sam-deploy:1.2.0
              variables:
                AWS_ACCESS_KEY_ID: ${AWS_ACCESS_KEY_ID}
                AWS_SECRET_ACCESS_KEY: ${AWS_SECRET_ACCESS_KEY}
                AWS_DEFAULT_REGION: ${AWS_DEFAULT_REGION}
                S3_BUCKET: "codedeploydemobucket"
                STACK_NAME: "BitbucketPipelines"
                CAPABILITIES: ["CAPABILITY_IAM", "CAPABILITY_AUTO_EXPAND"]
Testing
It’s time to verify the changes. Let’s push the code to main/master branch.
Agaile@Agailes-MacBook-Pro bitbucket-pipeline-tutorial % git status
On branch main
Your branch is up to date with 'origin/main'.

Untracked files:
  (use "git add <file>..." to include in what will be committed)
	bitbucket-pipelines.yml
	src/
	template.yaml

nothing added to commit but untracked files present (use "git add" to track)
Agaile@Agailes-MacBook-Pro bitbucket-pipeline-tutorial % git add .
Agaile@Agailes-MacBook-Pro bitbucket-pipeline-tutorial % git commit -m 'configured pipeline'
[main 523efb7] configured pipeline
 7 files changed, 198 insertions(+)
 create mode 100644 bitbucket-pipelines.yml
 create mode 100644 src/events/event.json
 create mode 100644 src/hello-world/.npmignore
 create mode 100644 src/hello-world/app.js
 create mode 100644 src/hello-world/package.json
 create mode 100644 src/hello-world/tests/unit/test-handler.js
 create mode 100644 template.yaml
Agaile@Agailes-MacBook-Pro bitbucket-pipeline-tutorial % git push
Enumerating objects: 15, done.
Counting objects: 100% (15/15), done.
Delta compression using up to 8 threads
Compressing objects: 100% (10/10), done.
Writing objects: 100% (14/14), 3.65 KiB | 1.83 MiB/s, done.
Total 14 (delta 0), reused 0 (delta 0)
To https://bitbucket.org/AV1988/bitbucket-pipeline-tutorial.git
   5cfe554..523efb7  main -> main
Agaile@Agailes-MacBook-Pro bitbucket-pipeline-tutorial %
Navigate to your repository and click on pipelines to check the progress


Wait for the deployment to complete and to test the api open your AWS console and navigate to API Gateway and look for your stack name.
Yay! You have successfully created a lambda function with an API Gateway using a SAM template and added an automatic deployment for it with Bitbucket pipelines which deploys your code whenever you push it to the main/master branch.
What’s next?
Try to add a step with manual approval to deploy to production.
Agaile Victor
Senior Software Engineer
Note
Disclaimer: The views expressed and the content shared in all published articles on this website are solely those of the respective authors, and they do not necessarily reflect the views of the author’s employer or the platform. We strive to ensure the accuracy and validity of the content published on our website. However, we cannot guarantee the absolute correctness or completeness of the information provided. It is the responsibility of the readers and users of this website to verify the accuracy and appropriateness of any information or opinions expressed within the articles. If you come across any content that you believe to be incorrect or invalid, please contact us immediately so that we can address the issue promptly.